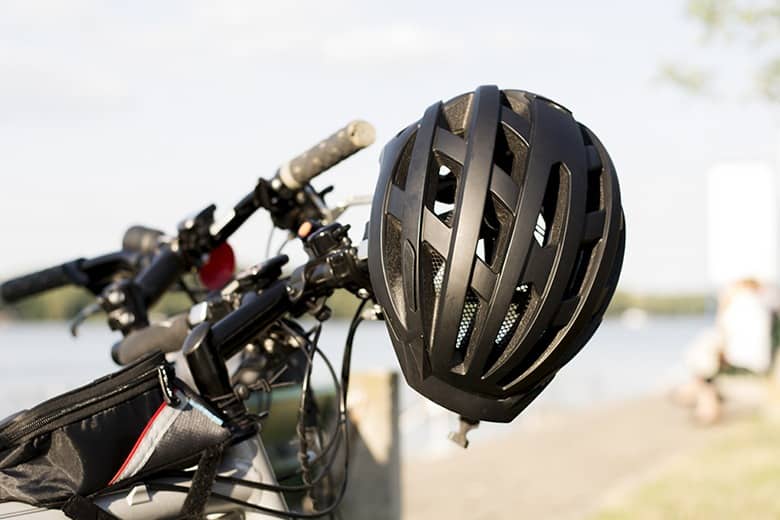
As the weather gets warmer and the days become longer, many families have begun pulling out their bicycles for the season. Whether you’re out exploring on a bike trail or just cruising through town, a helmet should always be worn whenever you ride your bike.
Head injuries resulting from bike accidents can be severe which is why choosing the right helmet to wear can make all the difference. Wearing the proper helmet size protects your head and brain from both external and internal damage. When you’re shopping for a new bike helmet, there are many factors to consider. Continue reading to determine how to choose the right helmet for you and how to get the best fit.
- Find Your Helmet Size
You should never purchase a helmet without trying it on for size. When choosing a bike helmet, an ill-fitting lid can compromise effectiveness in a crash. Since you’ll be wearing it for every mile of every ride, you’ll want it to fit comfortably.
To find the right size bike helmet, you’ll need to start by measuring your head circumference. To find your head circumference, wrap a flexible tape measure around the largest portion of your head — about one inch above your eyebrows. If you don’t have a measuring tape, wrap a string around your head and then measure the length of the string with a measuring tape or yardstick.
- Research Helmets That Match Your Style Of Riding
Helmets are available in a variety of models, each with features tailored to particular riding styles. Although any type of helmet will keep you safe, the right style helmet will provide you with additional benefits that will make your ride more enjoyable. Bike helmets can be classified into three categories:
-
- Recreational bike helmets are a suitable, economical choice for casual riding that will provide essential impact protection.
- Road bike helmets are well ventilated, the lightest weight, and the most aerodynamic.
- Mountain bike helmets tend to offer improved coverage of the rear and side of the head due to the increased probability of crashing. In addition, these are well ventilated, often feature visors, and come in both half shell (traditional) and full-face options.
- Consider What Features You May Want
Bike helmets have gotten lighter, more comfortable, and more effective at preventing head injuries thanks to recent innovations in helmet design. Click here for our infographic outlining the history of the bicycle helmet.
Helmets now commonly have special features like:
-
- Ventilation: Vents keep you cool and comfortable as you ride. The more vents your helmet has, the lighter it is.
- Visor: Many riders, especially mountain bikers, enjoy having a sun-shielding visor. A visor can make or break your ability to see the trail and enjoy the ride when riding at dusk or dawn.
- Accessory Mount: Some bicycle helmets are designed to let you snap in a mount that holds a camera or light (both are sold separately).
These features will raise the helmet’s price. However, the advantages of modern features outweigh the cost of the helmet for many riders.
- Compare Safety Certifications
All bike helmets in the U.S. must meet the U.S. Consumer Product Safety Commission standard. When shopping for a helmet, always look for a CPSC sticker on any bike helmet you buy, just in case. However, there are a few other things you might want to consider. Additional safety standards include:
EN 1078: The European standard permits lighter, thinner helmets than some of the other standards because it subjects helmets to impacts from lower heights than either Snell or CPSC. EN-1078 requires a lower test line than Snell and CPSC, which may require that the helmet provide slightly more coverage.
CPSC 1203: The CPSC standard strikes a common ground in bicycle helmet standards. CPSC 1203 is more demanding than the other most common standard, EN 1078, but is less demanding than the Snell B-95 standard.
Snell B-95: This standard subjects helmets to harder hits from greater heights than the CPSC and EN-1078 standards. It also features a slightly lower test line than the CPSC standard, requiring protection over a greater area of the helmet.
ASTM F192: In F192, the American Society for Testing and Materials (ASTM) developed a voluntary downhill mountain biking standard to address risks by requiring that passing helmets absorb greater impact energies over a larger portion of the helmet.
- Make Sure Your New Bike Helmet Fits
It is not sufficient to simply put on a helmet and decide whether it “feels” protective. To provide the best degree of head protection, a helmet must fit properly at all times. It may take a little extra time to ensure your helmet fits properly, but your life is worth it.
-
-
- Your bike helmet should pull down on your head. To check if yours fits appropriately, open your mouth wide and yawn. If it does not pull down, tighten the chin strap.
- Your bike helmet should not rock forward or backward or side to side on your head. Unbuckle and shorten the front strap by sliding the slider forward if the helmet rocks back more than two fingers above your eyebrows. Unbuckle and secure the back strap by sliding the slider back toward the ear if your helmet is rocking forward toward your eyes.
- Roll the rubber band down close to the buckle. All four straps must go through the rubber band to prevent the buckle from slipping.
-
Contact the Experienced Bike Accident Lawyers of Henson Fuerst
For over 45 years, the attorneys at Henson Fuerst have been helping injured cyclists throughout North Carolina. If you have questions about an accident you were involved in, call us today at 919-781-1107 or complete a free initial consultation form online.
